Your Guide to Drawing on iPad Like a Pro in 2026
By Steven Van ·
Ready to start drawing on iPad? This guide covers the best hardware, essential apps like Procreate, and pro techniques to elevate your digital art game.
Drawing on an iPad isn't just a new trend; it's a genuine shift in how we can create art. It blends the satisfying, hands-on feeling of traditional drawing with the incredible power of digital tools, making it one of the best ways to get started or level up your creative work. It’s like having a complete art studio in your backpack.
Why Drawing on an iPad Is a Creative Game-Changer
Let's be real—the idea of a portable, all-in-one digital studio is a dream come true for many artists. For years, digital art meant being chained to a desk with a bulky computer, a separate drawing tablet, and a mess of cables. The iPad completely shatters that old-school setup.
Think about it: you could be sketching a new character concept on your morning commute, tightening up the line art while grabbing a coffee, and then settling in at your desk to lay down the final colors—all on a single device. This seamless, uninterrupted workflow is exactly why so many creators have made the iPad their main tool. It just gets rid of the friction between having an idea and actually making it.
It Just Makes Digital Art Feel Easier
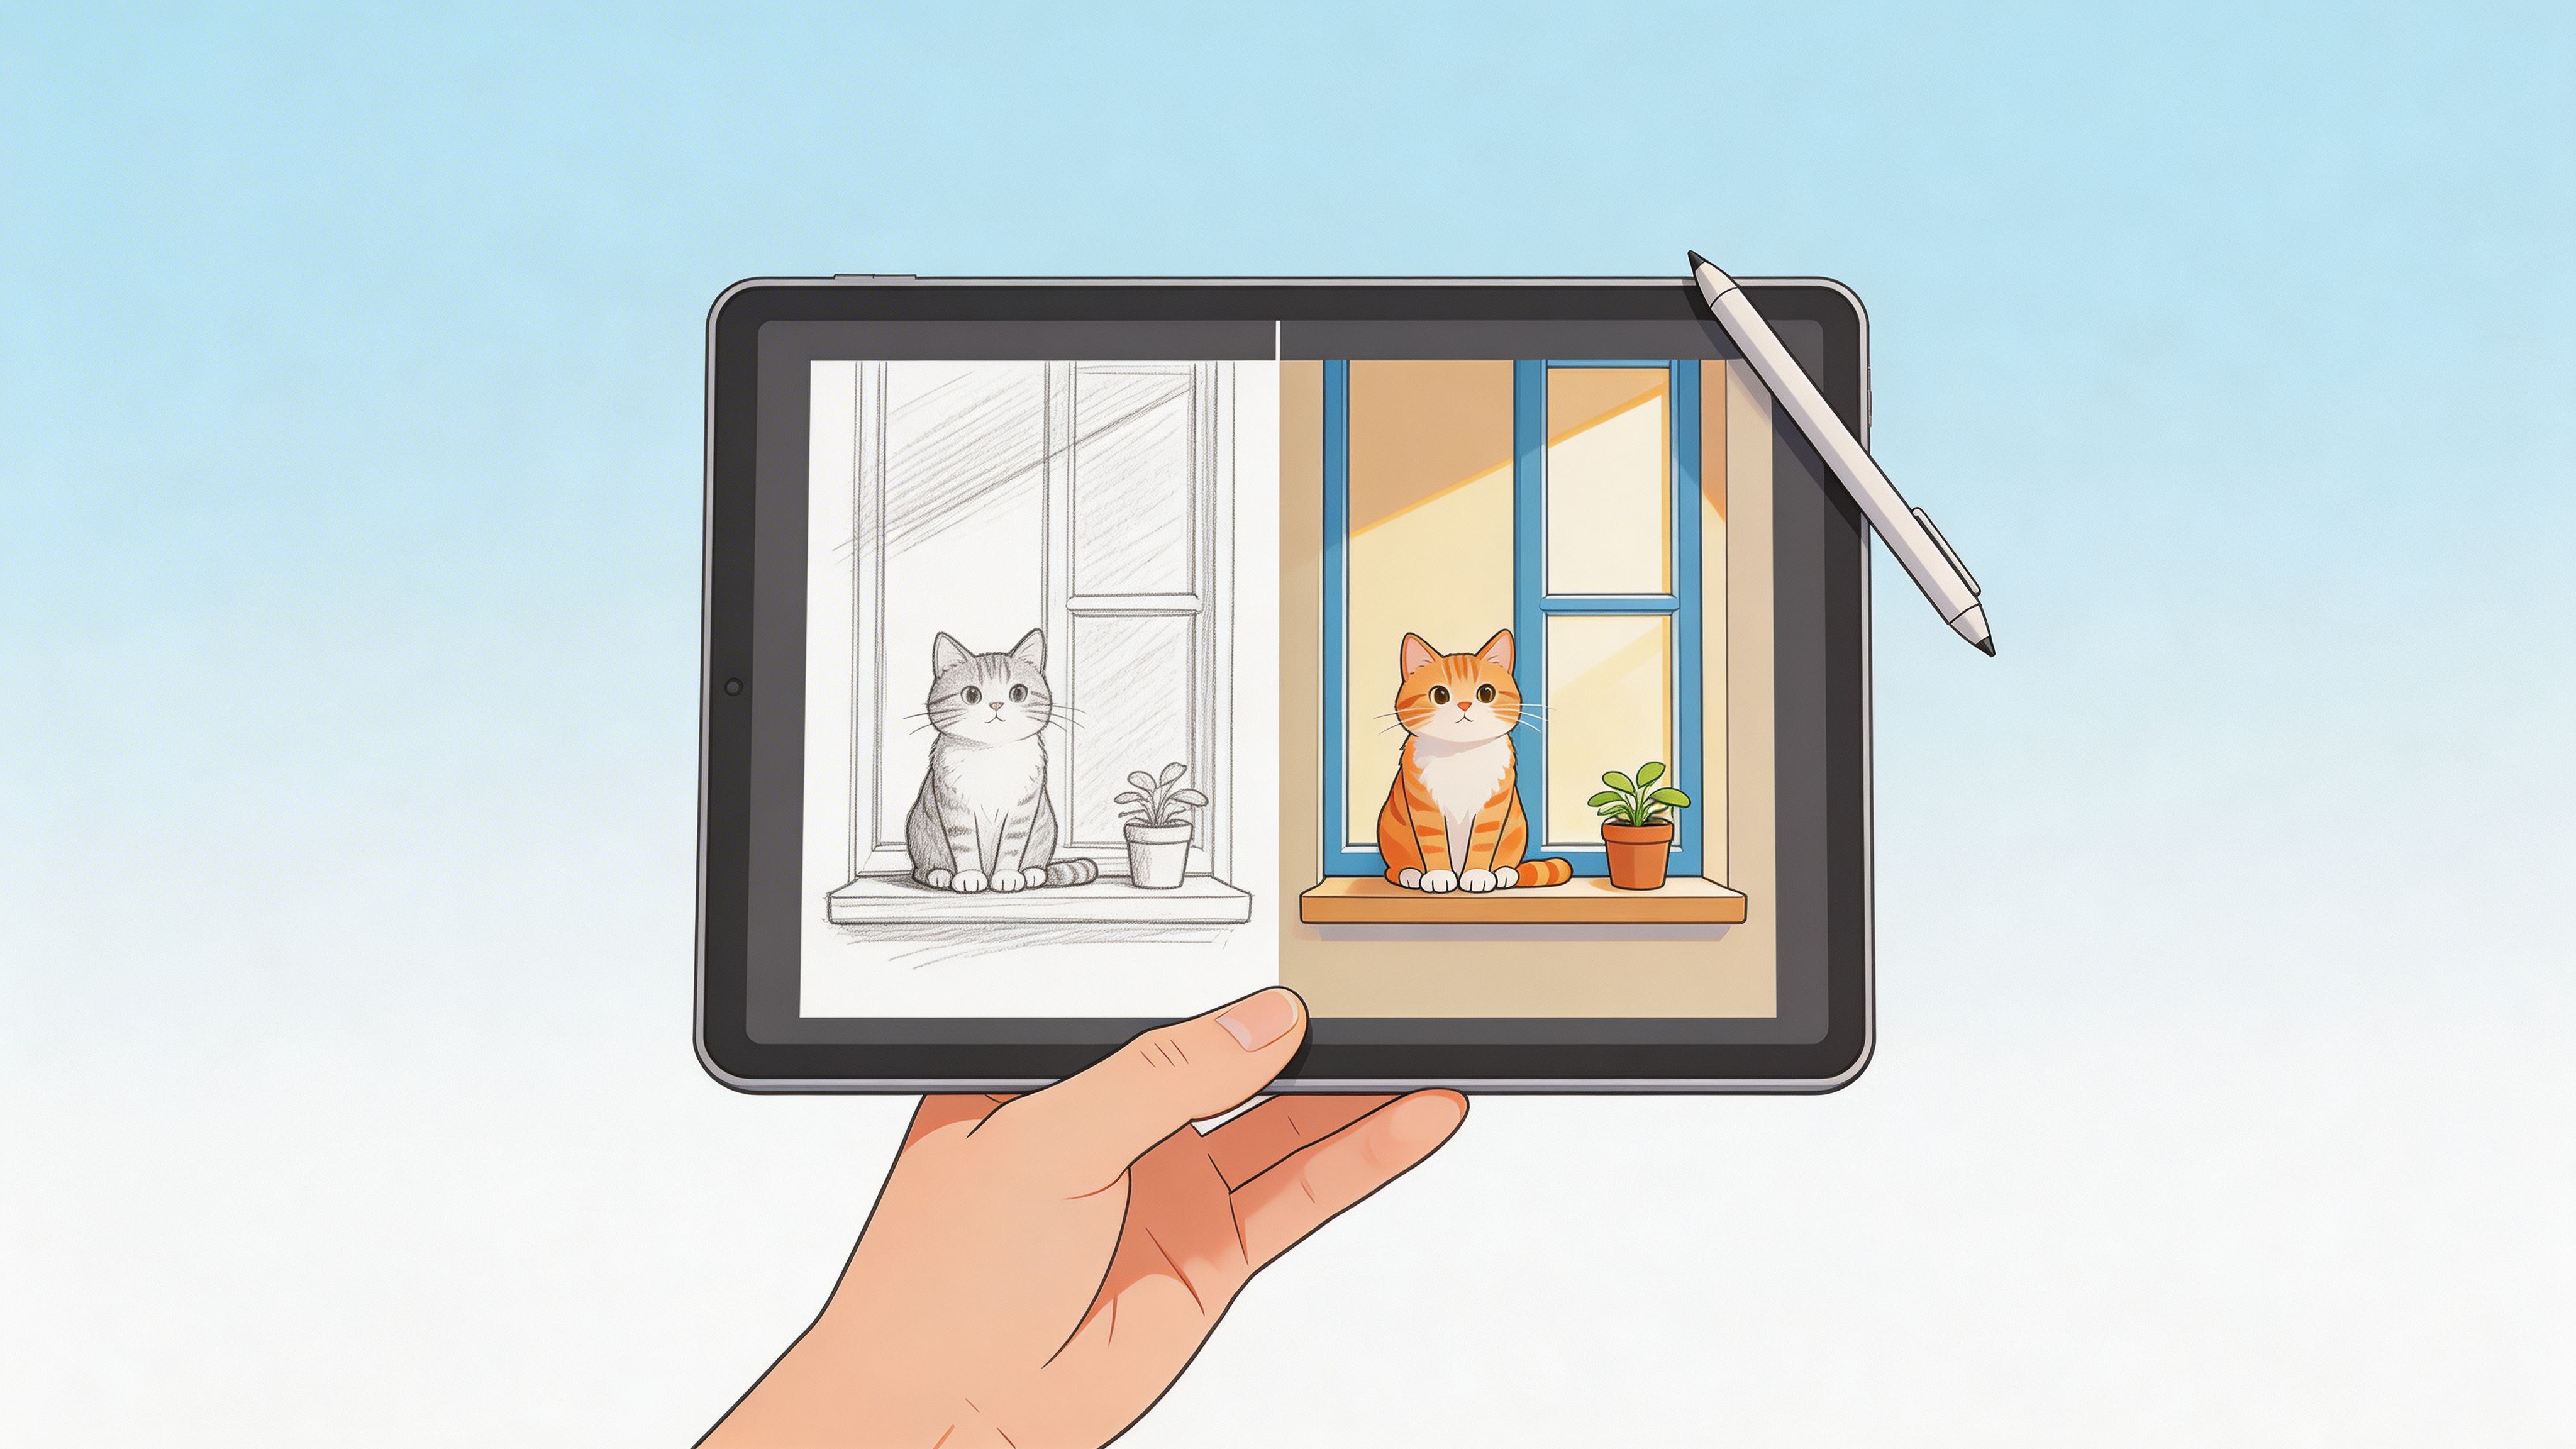
Beyond being able to draw anywhere, the iPad's touch-based design makes digital art feel incredibly intuitive. Complex desktop software can be intimidating, but apps like Procreate and Adobe Fresco were built for touch from the very beginning. Pinching to zoom and twisting the canvas with your fingers feels just as natural as turning a physical sketchbook in your hands.
This has had a huge impact on who feels comfortable trying digital art. A survey from CELSYS really drives this point home, showing that 69.6% of creators now work digitally. More telling is that 57.3% of them made their first digital art on a device other than a computer, and the iPad is a massive part of that story. The data clearly shows how much the platform has opened the doors for new artists. You can dig into the numbers yourself in the CELSYS creator survey analysis.
To quickly sum up the biggest draws, here's a look at what you can expect.
At a Glance: Why Start Drawing on an iPad
| Benefit | What It Means for You |
|---|---|
| Portability | Your studio goes wherever you go—the park, a coffee shop, or your couch. |
| Intuitive Feel | Drawing directly on the screen feels natural, with a much smaller learning curve. |
| All-in-One Power | No need for a separate computer, tablet, and monitor. It's all in one device. |
| Lower Upfront Cost | Often more affordable than a dedicated desktop computer and a high-end drawing tablet. |
These points just scratch the surface, but they capture the immediate appeal for anyone curious about digital art.
For me, the biggest advantage is the immediacy. There's no setup time. You just pick up the iPad and Apple Pencil, open your app, and you're drawing. That spontaneity is crucial for keeping creative momentum going.
The Real-World Advantages for Artists
Whether you're just doodling for fun or working on professional client projects, the benefits you'll feel are tangible and directly improve your creative process. It's not just about convenience; it’s about working smarter and with more freedom.
Here are a few of the perks I've come to rely on:
- Zero Consumables: You will never, ever run out of paint, paper, or markers. This freedom is amazing for experimentation because you're not worried about wasting expensive supplies. Go wild.
- The Magic of Undo: Made a wonky line? A simple two-finger tap makes it vanish. This non-destructive workflow lets you make bold choices and correct mistakes effortlessly—a massive relief compared to spilling ink on a nearly finished paper drawing.
- Infinite Color Palettes: You have millions of colors at your fingertips. You can create, save, and import custom palettes to keep your color schemes perfectly consistent across projects, all without the mess of mixing physical paints.
In the end, drawing on an iPad gives you an incredible mix of power and simplicity. It's a tool that can grow with you, just as capable of handling a quick sketch as it is a complex, multi-layered illustration.
Choosing Your Perfect iPad and Apple Pencil
So, you’re ready to start drawing on an iPad? The first hurdle is often the biggest: which one do you actually need? It’s easy to get lost in a sea of models, specs, and marketing buzzwords. My advice? Tune out the noise and focus on what really matters to an artist: your budget, how you plan to work, and where you see your art going in the future.
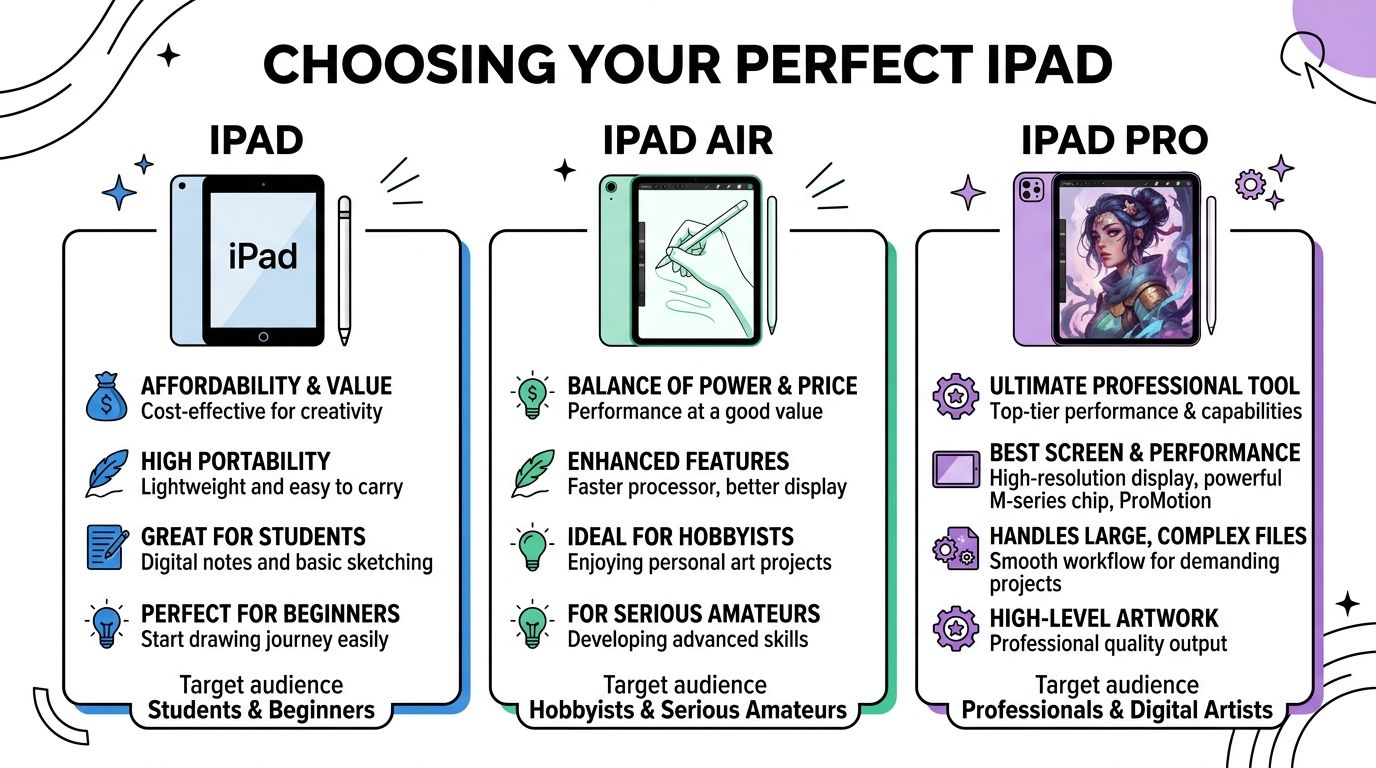
Let's get one thing straight right away: you do not need the most expensive iPad to create stunning work. The entire lineup is incredibly capable. We're talking about a range from the standard iPad and the versatile iPad Air all the way up to the beastly iPad Pro. Each one is built for a different kind of artist, and the right choice for you is a personal one.
These days, it’s common for a full creative setup—the device and Apple Pencil—to run anywhere from $400 to well over $1,000. Most pros I know gravitate toward the 11-13 inch screen size. It’s the perfect compromise, giving you enough canvas to work on without sacrificing portability for those coffee shop sketch sessions. You can see how iPads stack up against other hardware in the broader market of drawing tablets on Xencelabs.com.
iPad vs iPad Air vs iPad Pro for Drawing
The standard iPad is a fantastic gateway into digital art. It’s the most affordable of the bunch, yet it runs professional-grade apps beautifully and works seamlessly with an Apple Pencil. If you’re a student, just starting a new hobby, or simply want to try digital painting without a massive investment, this is your best bet. It can handle nearly anything you throw at it in Procreate, especially if you tend to work with a reasonable number of layers.
For a bit more power, the iPad Air really hits the sweet spot. It bridges the gap between the entry-level model and the top-tier Pro, offering a serious performance boost for a mid-range price. The screen is usually a big step up—it's laminated, which means the glass is fused closer to the pixels. This small detail makes a huge difference, making it feel like your pen is touching the art directly. It’s perfect for serious hobbyists or even pros who need more horsepower for larger files.
And then you have the iPad Pro. This is the no-compromise, top-of-the-line machine for artists who consistently push their tools to the absolute limit. When you look at models like the iPad Pro Version 4, you see the kind of premium experience they offer. Thanks to its ProMotion display with a slick 120Hz refresh rate and the most powerful M-series chips Apple makes, the Pro chews through massive canvases, hundreds of layers, and even 3D models without blinking.
Honestly, the biggest functional difference for me between the Air and Pro is the ProMotion display. The buttery-smooth response when the Apple Pencil touches the screen is a luxury, but once you've used it, it's hard to go back.
Matching the Right Apple Pencil to Your iPad
Of course, the iPad is only half the equation. You need the right Apple Pencil to go with it, and Apple has made this a little confusing over the years. Getting this pairing right is non-negotiable, as they aren’t cross-compatible.
Here’s a quick rundown of what you need to know:
- Apple Pencil (1st Generation): The original. It pairs and charges via a Lightning connector and is the go-to for the standard iPad and some older models.
- Apple Pencil (2nd Generation): This is a huge quality-of-life upgrade. It magnetically snaps to the side of the iPad Air and Pro to pair and charge, which is incredibly convenient. It also has a double-tap gesture you can customize.
- Apple Pencil (USB-C): A newer, more budget-friendly model. It charges with a standard USB-C cable, but here’s the catch: it lacks pressure sensitivity. This is a deal-breaker for most artists.
- Apple Pencil Pro: The latest and greatest stylus, made for the newest iPad Air and Pro models. It adds cool new interactions like a "squeeze" gesture and a gyroscope for "barrel roll" brush effects.
For any serious drawing, pressure sensitivity is non-negotiable. It’s what allows you to control the thickness and opacity of your lines with how hard you press, just like a real pencil or brush. This means your best options will always be the Apple Pencil (1st Gen), Apple Pencil (2nd Gen), or Apple Pencil Pro.
Don't Forget Essential Drawing Accessories
Before you head to checkout, there are a couple of accessories that can completely change your drawing experience for the better.
First on my list is always a matte screen protector. The iPad's glass screen is beautiful but slick, which can make the Pencil tip feel like it's skating on ice. A matte, paper-textured screen protector adds just the right amount of friction. It gives you so much more control and makes the whole experience feel more natural and tactile. It’s a cheap upgrade with a massive impact.
Finally, let's talk budget. If a brand-new iPad Pro feels out of reach, don't sleep on the refurbished market. You can find last-gen models in perfect condition for a huge discount, giving you way more power for your money. This is an amazing way to get a pro-level device without the pro-level price tag. If you want to explore this route, you can often find great deals on renewed tech. For some options, you might be interested in our guide to saving money on refurbished electronics.
So, you've got your iPad and Apple Pencil charged up. Now for the fun part: bringing your ideas to life with the right software. While the App Store has a ton of drawing apps, there’s one that nearly every iPad artist starts with for good reason: Procreate.
Procreate just gets it. It’s packed with professional-grade features but manages to keep its interface clean and out of your way, which is exactly what you want when inspiration strikes. It feels less like complicated software and more like an open sketchbook.
Your First Canvas in Procreate
When you open the app, you'll see your gallery. To get started, just tap the + icon in the top-right corner. You can pick a preset, but I almost always create a custom canvas.
A great starting point for something you might share on social media is a square canvas, maybe 3000 x 3000 pixels. This size is a good sweet spot—it’s high-res enough for sharp details but won't bog down your iPad with a massive file.
You'll also see an option for DPI, or Dots Per Inch. This is crucial.
- For art that will only live on screens (like Instagram or a web portfolio), 150 DPI is perfectly fine.
- If you ever plan to print your work, you absolutely need to set this to 300 DPI or higher. Trust me, you can't add this quality back in later, so it's better to start with it.
Once you’ve set up your canvas, you’re looking at your digital workspace. It's intentionally minimal, but all the power is just a tap away. To really get comfortable, you need to understand the three core elements of any digital drawing: brushes, layers, and colors.
The Three Foundations of Digital Drawing
Mastering how these three things work together is the key to unlocking the freedom of digital art.
Brushes are your entire art supply store in one menu. Procreate gives you over 200 fantastic brushes right out of the box, all neatly sorted into sets like "Sketching" and "Inking." You’ve got everything from graphite pencils to messy paint brushes.
Layers are your best friend. Think of them as a stack of clear sheets. You can sketch on one, draw your final lines on another, and add color on a third, all without messing up the others. It’s the secret to a stress-free workflow and makes editing a breeze.
Colors are, well, infinite. You have a color wheel, the ability to create and save custom palettes, and even a neat trick where you can use your iPad's camera to pull a color from the world around you.
This next chart helps visualize how different iPad models handle the demands of apps like Procreate, especially when you start pushing the limits with large files and complex brushes.
As you can see, while any recent iPad is a solid creative tool, the Pro models really shine for artists who work with tons of layers or at huge resolutions. It’s something to keep in mind as your ambitions grow.
Beyond Procreate: Other Amazing Art Apps
Procreate is a brilliant all-rounder, but don't feel like you have to stick to just one app. Different tools are built for different jobs, and exploring them can be a huge boost to your creativity.
It's easy to get locked into one app, but experimenting with others can teach you new techniques. I use Procreate for 90% of my work, but I jump into Fresco anytime I want that authentic watercolor bleed effect.
Adobe Fresco is an absolute dream if you love the feel of traditional media. Its killer feature is Live Brushes, which do an incredible job of mimicking how real watercolors and oils behave. The watercolors bloom and spread into the "paper," and the oil paints have a thick, dimensional quality you can practically feel. If you're already in the Adobe ecosystem, it’s a must-try.
For anyone serious about making comics or manga, Clip Studio Paint is the undisputed industry heavyweight. It's purpose-built for sequential art, with specialized tools for paneling, speech bubbles, perspective rulers, and even posable 3D models for reference. Its brush engine is also ridiculously powerful and customizable, which is why so many artists swear by it for their line art.
We've also put together a broader list of excellent graphic design apps for your iPad if you want to see what else is out there.
To help you decide where to start, here’s a quick look at how these top-tier apps stack up.
Top iPad Drawing Apps Compared
This table breaks down the essentials of each app to help you find the one that best fits your artistic goals.
| App | Best For | Key Feature | Pricing Model |
|---|---|---|---|
| Procreate | All-around illustration and painting | Intuitive interface & powerful brush engine | One-time purchase |
| Adobe Fresco | Traditional media simulation | Live Brushes (watercolor & oil) | Freemium/Subscription |
| Clip Studio Paint | Comics, manga, and animation | Specialized comic creation tools | Subscription |
Ultimately, the best app is the one you feel most comfortable in. Download a few, spend an afternoon just doodling, and see which one clicks. The goal isn't to find the app with the longest feature list, but to find the digital space where you feel inspired to create.
Mastering Core Drawing Techniques on Your iPad
Alright, you’ve got your iPad and Apple Pencil ready to go. You've even picked out a few drawing apps. Now for the fun part: turning that blank digital canvas into a piece of art. This is where we move beyond the settings and menus and really dig into the skills that make drawing on an iPad feel intuitive and second nature.
It all starts with the foundation of nearly every illustration—the sketch and the line art. Getting these two stages right makes everything else that follows so much easier.
Creating Clean Lines and Dynamic Sketches
One of the biggest giveaways of a digital art beginner is a shaky, uncertain line. But the secret to those impossibly smooth curves you see from professional artists isn't a surgeon-steady hand—it's brush stabilization.
Most great drawing apps have this feature built-in. Procreate calls it "StreamLine," while other apps might label it "Smoothing." This tool essentially smooths out the tiny jitters from your hand as you draw.
If you crank it up to 100%, you’ll get incredibly precise, almost geometric lines, which can be perfect for technical work or hard-edged logos. For most of my illustration work, though, I keep it dialed way back to around 15-25%. This gives me just enough correction to clean up my strokes without sacrificing that natural, hand-drawn character.
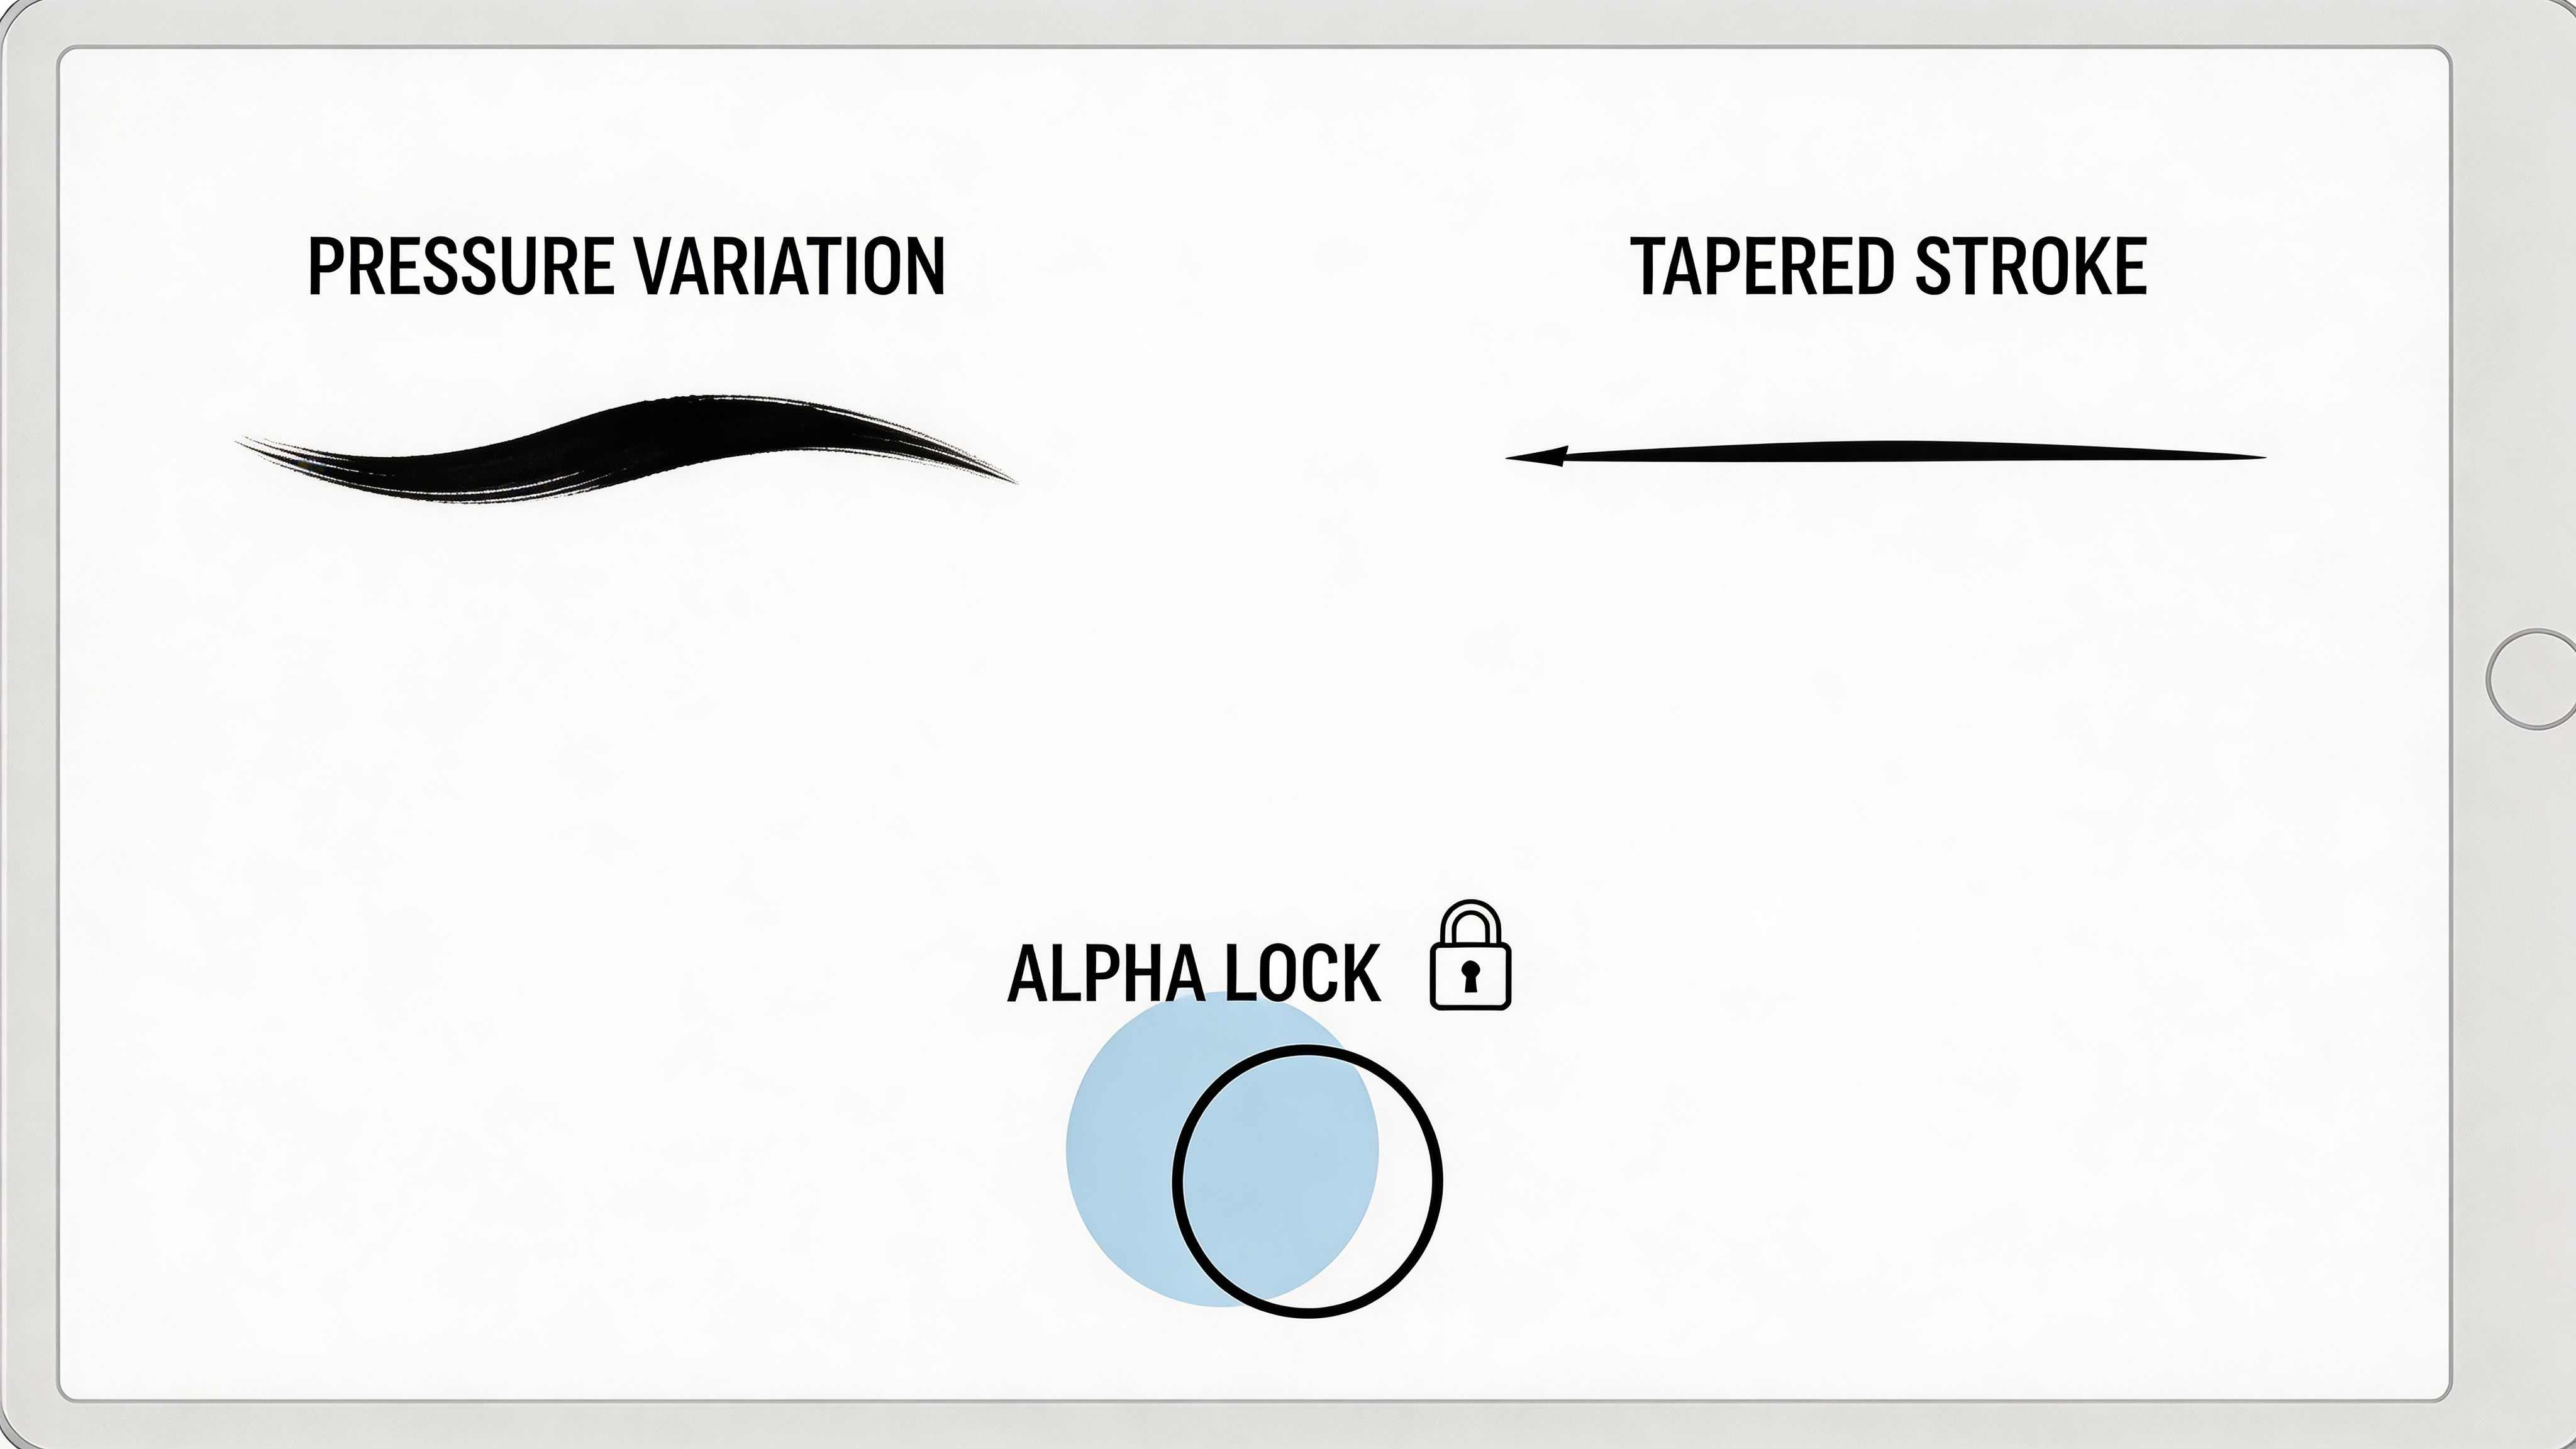
Next up is pressure sensitivity. This is what makes the Apple Pencil feel less like a stylus and more like a real drawing tool. How hard you press directly controls the thickness and even the opacity of your line. A light touch can give you a faint, delicate line for early sketches, while firm pressure creates a bold, confident stroke for your final outlines.
Seriously, spend some time just playing with this on a blank canvas. It's not wasted time; it's essential practice.
- Try drawing long, flowing lines that go from thin to thick and back to thin again in one continuous motion.
- Sketch some simple shapes, focusing on making the line weight consistent all the way around.
- Practice hatching and cross-hatching, paying close attention to how more pressure creates darker, denser shading.
This is how you build muscle memory. It’s what closes the gap between the idea in your head and the mark you make on the screen.
Building Your Art with a Smart Layer Workflow
If I could give just one piece of advice to a new digital artist, it would be this: learn to love layers. Think of them as a stack of clear acetate sheets. You can draw on one sheet without messing up the drawings on the sheets below it. Working this way from the very beginning will save you countless hours of frustration.
Here’s a look at my typical layer stack for a character illustration:
- Sketch Layer: This is for the rough, messy drawing. I use a pencil-like brush and just focus on getting the pose, composition, and basic forms down. It’s not supposed to be pretty.
- Line Art Layer: Next, I drop the opacity of my sketch layer to about 20% so it’s barely visible. I create a new layer on top of it and carefully trace my final, clean lines with an inking brush.
- Flat Colors Layer: This layer goes underneath the line art. This is where I block in all the main, flat colors of the character or subject.
- Shadows, Highlights, & BG Layers: I use separate, new layers for everything else—a layer for shadows, another for highlights, and a few for the background elements.
This separation is your ultimate undo button. Want to change a shirt color from blue to red? Just edit the color layer; your perfect line art remains untouched. It’s an incredibly flexible and organized way to work.
The moment I truly embraced layers was the moment drawing on my iPad stopped feeling intimidating. Knowing I can experiment with colors on one layer without ruining my line art on another gives me the freedom to be bold.
Fundamental Coloring and Shading Tricks
With your clean line art in place and your flat colors blocked in, it's time to add depth and dimension. Your app has a couple of powerhouse features that make this process incredibly efficient.
The first is Alpha Lock (sometimes called "Lock Transparent Pixels"). Once you have a flat shape filled with color, turn on Alpha Lock for that layer. Now, you can only paint inside that existing shape. It’s like an instant, perfect stencil, and it’s amazing for adding textures or patterns without ever going outside the lines.
To really make your forms pop, you need to understand Blend Modes. These are simple settings that change how the colors on one layer interact with the colors on the layers below it. For shading and lighting, two are absolutely essential:
- Multiply: To create shadows, make a new layer above your colors and set its blend mode to "Multiply." Choose a muted, cool color (I often use a desaturated purple or blue) and paint in your shadow areas. The Multiply mode automatically darkens the colors beneath it in a very natural way.
- Add or Screen: For highlights, create another new layer and set it to "Add" or "Screen." Using a light, warm color (like a soft yellow), paint where the light would hit your subject. This mode will brighten the underlying colors, giving them a luminous glow.
Combining Alpha Lock with these blend modes is a fast track to creating rich, three-dimensional-looking art. As you get more comfortable, you can even apply these techniques to more experimental styles, like the fascinating world of abstract art digital, to see how far you can push your creativity.
Leveling Up with Advanced Workflows and Pro Tips
Alright, so you’ve nailed the basics of sketching, managing layers, and laying down color. What's next? Moving from being a competent beginner to a seasoned pro on the iPad isn't about some secret handshake. It's all about building smarter workflows that slash your production time and open up whole new creative avenues.
These are the techniques that let you tackle more ambitious projects, build a signature style, and add that final layer of polish that makes your work stand out.
Developing Your Own Custom Brushes
The default brushes that come with apps like Procreate are fantastic, but the real magic begins when you start crafting your own. Building a personal brush library is one of the most direct ways to develop a unique artistic voice.
Getting into your app’s brush editor can feel like stepping into a cockpit for the first time, but you don't have to start from zero. My advice? Find a brush you already love—maybe the "6B Pencil" or "Studio Pen"—and duplicate it. This gives you a solid starting point to tinker with.
From there, you can start making it your own. I find the most game-changing settings are usually in these three areas:
- Shape and Grain: The "shape" is your brush tip, and the "grain" is the texture it paints onto the canvas. You can actually import your own images here! Try using a photo of a concrete wall or a scan of some rough watercolor paper to create textures that nobody else has.
- Taper and Pressure: This is where you fine-tune how the Apple Pencil pressure affects your stroke. A dramatic taper gives you those beautiful, sharp calligraphy lines, while a more subtle setting feels more like a natural pencil.
- Stabilization and Motion: Tools like StreamLine (in Procreate) are your best friend for getting buttery-smooth linework. On the flip side, cranking up the "Jitter" setting scatters the brush shape, which is perfect for creating anything from a spray paint effect to textured brushes for leaves and grass.
Don't underestimate how much a well-tuned brush matters. One study highlighted that while iPads are incredibly accessible, drawings done on paper often scored higher than those made with a finger on a screen. This suggests that getting your digital tools just right is key to matching the quality of traditional media. You can dive into the full research about digital drawing tools if you're curious.
Advanced Layer and Masking Techniques
The more complex your artwork gets, the more layers you'll be juggling. Trying to find that one specific detail layer among dozens can be a nightmare. This is exactly why Layer Groups are a lifesaver.
Think of them as folders. You can bundle all the layers for a character's head—linework, flats, shadows, highlights—into a single group. It instantly cleans up your workspace and makes navigating your entire project a breeze.
Beyond just organizing, Clipping Masks are an absolute game-changer for working non-destructively. Imagine you have the flat color for a character's shirt on one layer. You can create a new layer right above it and turn it into a clipping mask. Now, anything you paint on that new layer—shadows, a pattern, some texture—will only show up on the shirt. You can't color outside the lines. It’s the go-to professional method for adding detail without ever messing up your base colors.
I use clipping masks for everything. Shading, texture, lighting effects—you name it. The ability to paint freely and know it will stay perfectly within the lines of the layer below gives me complete creative freedom without commitment.
Using Perspective and Composition Guides
Creating scenes with believable depth is tough. Luckily, our apps have our back. The Perspective Guide in Procreate, for instance, lets you set up a one, two, or even three-point perspective grid right on your canvas.
Then, just turn on Drawing Assist. Suddenly, every line you draw perfectly snaps to your vanishing points. It makes drawing buildings, interiors, and complex objects in perfect perspective feel almost like cheating. You can also overlay grids like the Rule of Thirds or the Golden Ratio to help you place your subject for a more dynamic and pleasing composition.
Finally, don't sleep on your app's time-lapse feature! It automatically records your entire process, stroke by stroke. Sharing these videos on social media is a fantastic way to show people the work that goes into a piece and grow your audience. If you want to take that idea even further, check out our guide on how Procreate Dreams is shaping the future of digital animation.
Your Questions About Drawing on iPad Answered
Jumping into the world of iPad art can feel like learning a new language. You've got the hardware, you've got the ideas, but a handful of nagging questions can stop you in your tracks. Let's clear up some of the most common hurdles so you can get back to what really matters: creating.
Do I Need the Most Expensive iPad Pro?
Honestly? No. It's so easy to get caught up in the idea that you need the absolute top-of-the-line model to do professional work. While the iPad Pro is an incredible machine with its 120Hz ProMotion display and powerful M-series chips, plenty of pros are making stunning art on the iPad Air or even the standard iPad.
Your skill, your understanding of your drawing app, and your sheer creativity will always matter more than the specs on a sheet. My advice? Get the best iPad that fits your budget right now. You can always upgrade later as your needs (or your income) change.
The artist is always more important than the tablet. A seasoned creator can make magic with basic tools, but the fanciest gear in the world can't substitute for practice and a good eye.
How Do I Make My iPad Screen Feel More Like Paper?
Ah, the slick glass problem. This is probably the biggest complaint I hear from artists making the switch from traditional media. That feeling of your Apple Pencil tip gliding uncontrollably across the screen can be a real workflow killer.
The single best fix for this is a matte screen protector. Brands like Paperlike or Rock Paper Pencil have built their entire business on solving this exact issue. They add a micro-texture to the screen's surface that gives just enough resistance to the Pencil's tip. It’s a game-changer that beautifully mimics the drag of a real pencil on paper.
This one simple accessory gives you a few major wins:
- Better Line Control: No more "skating" across the glass. That little bit of friction gives you much more deliberate and precise strokes.
- Kills Annoying Glare: The matte finish diffuses light, so you won't be fighting reflections from windows or overhead lights.
- A More Natural Feel: It just feels right. The tactile feedback makes the whole drawing experience more engaging and familiar.
What Is the Best Way to Back Up My Artwork?
This one is non-negotiable. You have to have a solid backup plan. Procreate doesn't automatically sync your entire gallery to the cloud, so if you're only saving work on your iPad, you're one accident away from losing everything.
The gold standard is to regularly export your important pieces to a separate cloud service. Think of it as creating a digital safe for your art. iCloud Drive, Google Drive, or Dropbox are all perfect for this.
For ultimate security and flexibility, get in the habit of exporting your work in two key formats:
- A
.procreatefile: This is your master file. It saves all your layers, masks, and history, letting you open it on another iPad and pick up right where you left off. - A
.psd(Photoshop) file: This is the universal language of digital art. It keeps your layers intact and ensures you can open your work in other industry-standard apps like Adobe Photoshop or Clip Studio Paint.
At Creators Toolbox, we're obsessed with finding the tools and workflows that help you create your best work. For more practical guides like this one, be sure to check out our weekly updates at https://creatorstoolbox.com.