How to Create a Glowing Motion Blur Effect
By Steven Van ·
Learn how to create a stunning radial motion blur with vibrant color shifts using the Motion Blur tool.
In this quick tutorial, you'll learn how to create a striking motion blur effect with a glowing color shift. This effect works great for giving photos an ethereal, cinematic look.


Step 1: Upload Your Image
Start by uploading any image to the Motion Blur tool. This effect works especially well with portraits or images with a clear subject.

Step 2: Set Your Blur Settings
Configure the main blur parameters:
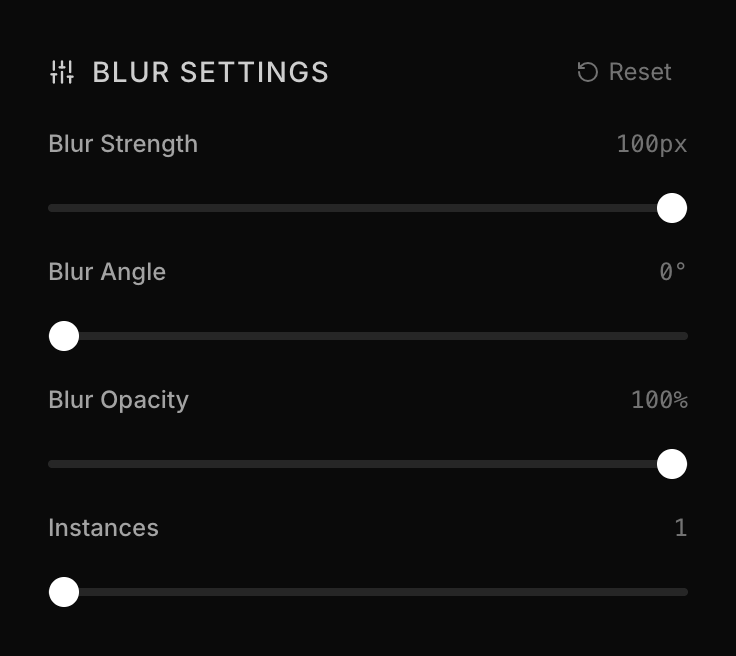
- Blur Strength: 100px - Maximum blur for dramatic effect
- Blur Angle: 0° - Horizontal motion blur
- Blur Opacity: 100% - Full intensity
- Instances: 1 - Single pass for this effect
Step 3: Apply a Radial Mask
The key to this effect is using an inverted radial mask to keep your subject sharp while blurring the edges.
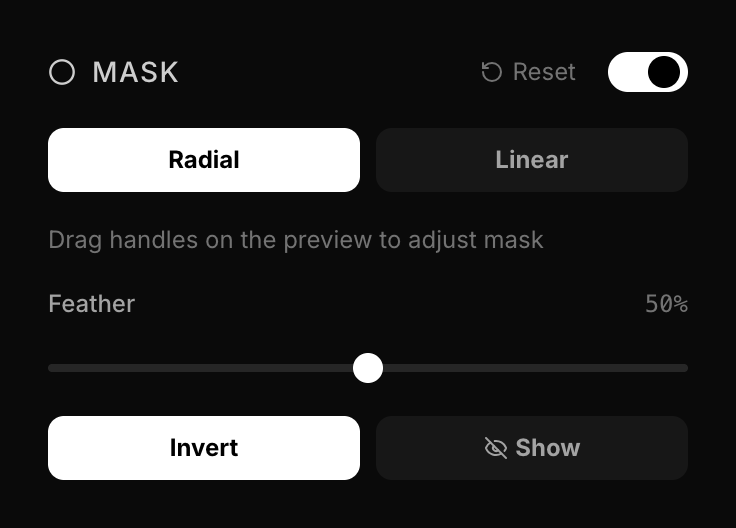
- Enable Mask: Toggle on
- Type: Radial - Creates a circular/elliptical mask
- Feather: 50% - Smooth transition at edges
- Invert: On - Blur the outside, keep center sharp
Position the mask center over your main subject. The inverted setting keeps the center sharp and blurs outward.
Step 4: Add the Color Shift
Here's where the magic happens. In the Blur Adjustments section, shift the hue to create a vibrant color glow:
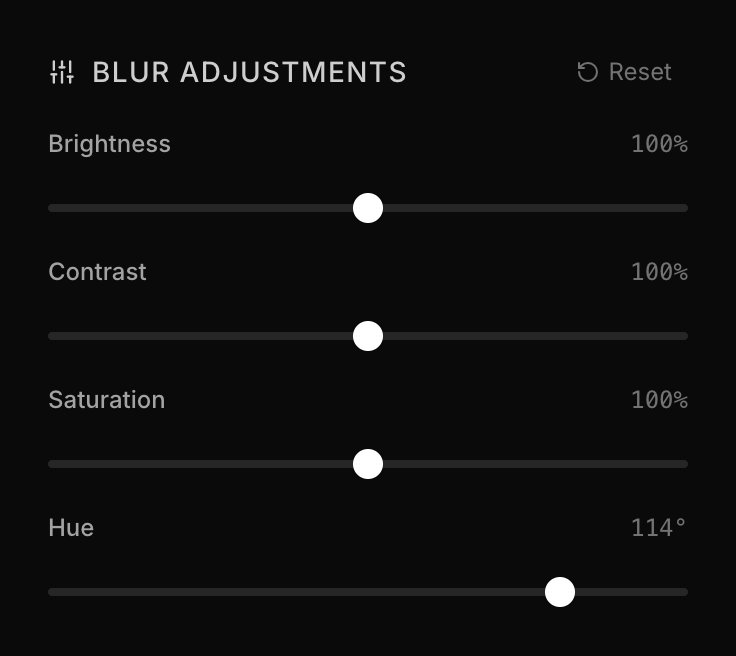
Set the Hue to 114° for a vibrant green glow. You can also try 200° for blue or 300° for purple. This shifts only the blurred areas while keeping your subject's original colors.
Step 5: Boost the Saturation
To make the colors really pop, increase the global saturation:
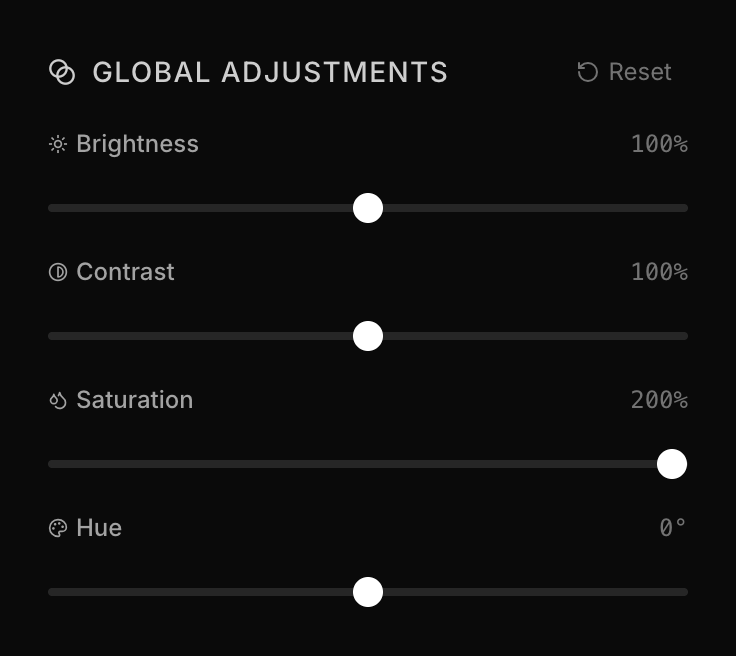
Set Saturation to 200% to make the colors really vibrant.
Final Settings Summary
The Final Result
Here's what your image will look like with all the settings applied:
That's it! You now have a professional-looking motion blur effect with a stunning color glow. Experiment with different hue values to create various color variations.